AI & automation
How I Made an Anime AI Clip Locally with ComfyUI
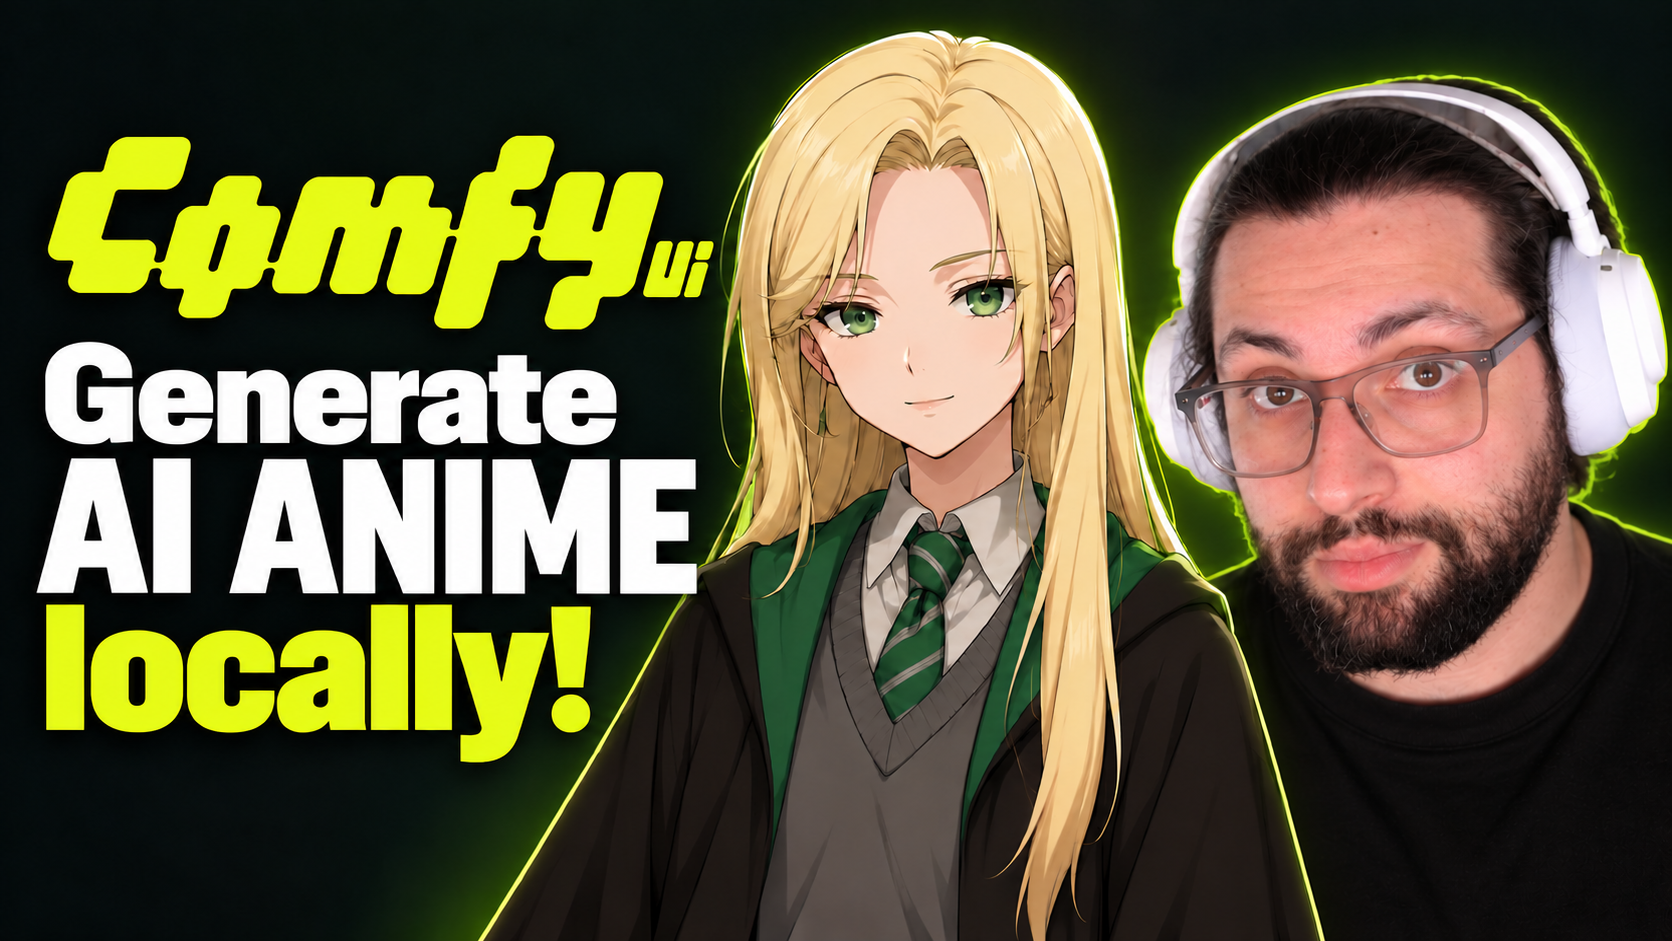
You've probably seen those anime-style Malfoy clips popping up in your feed. They're a fun example of AI creating something people actually want to watch, and I wanted to show how you can make a clip like that on your own computer.
In my latest Smart Alex video, I go from installing ComfyUI Desktop to building a character reference, generating a short anime scene with MiniMax H3, and upscaling the result. Here's the written walkthrough, including the settings I used and the bits I'd improve on the next pass.
1. Start with ComfyUI Desktop
I use the desktop version of ComfyUI for this tutorial. Start with the official download page, follow the installation prompts, and let the setup detect your hardware. If you're on Windows, the official installation guide is a useful companion.
This is a local workflow, so the computer doing the work matters. In the video I mention an RTX 3060 as a rough point of reference, but I wouldn't treat that as a guaranteed minimum for every model or setting. The model files you choose, available GPU memory, resolution, and clip length all affect what you can run comfortably.
Follow along with the setup at 0:23 in the video.
2. Make the character reference before the video
The first creative step is a character reference sheet. I want the video model to have a clear visual starting point for the face, outfit, and overall anime style, rather than asking it to invent everything from text.
I use a Qwen image-edit workflow, add the character reference, and ask for a full-body anime character reference sheet. The workflow shows the nodes and model files it needs, which makes it easier to see what is missing.
For the reference image in this demo, I leave the sampling steps at 25, keep the existing CFG setting, and use a custom landscape size. That gives me a wide reference sheet to take into the next stage.
You can adapt the same approach to your own character. A suggested starting prompt would be:
Create a full-body anime character reference sheet based on the supplied image. Keep the character's face, hairstyle, outfit, and colours consistent across the views. Use a clean background and a landscape layout.
This is an example to adapt, rather than a transcript of the exact prompt used on screen. Watch the reference stage at 0:51.
3. Put each model in the right folder
Installing ComfyUI and downloading the models are separate steps. In the tutorial, I use the links provided by the workflow to download the required files from Hugging Face.
Open the desktop settings and look under Storage to find the model location for your installation. Then follow the workflow's instructions for where each file belongs:
- Diffusion models go in the diffusion model folder.
- Text encoders go in the text encoder folder.
- VAE files go in the VAE folder.
- LoRA files, when required by the video workflow, go in the LoRA folder.
I choose a lighter model option for the image-edit stage to keep the experiment moving. Use the files linked by your chosen workflow so the components match, then refresh the model lists and check the loader nodes before running. You can see the folder setup at 1:37.
4. Use the reference-to-video workflow
Once the character sheet is ready, I move to MiniMax H3. The options shown include text-to-video, image-to-video, and reference-to-video. For this experiment, I choose reference-to-video because keeping the character recognisable is a big part of what I'm trying to achieve.
Load the required video models, bring in the reference image you just created, and add your scene prompt. I use ChatGPT to help write the video prompt in the demo. The useful thing to describe is what the character does, where the scene takes place, and how you want the camera and animation to feel.
For a first attempt, keep the action simple enough to judge in a short clip. You'll find this part of the walkthrough at 2:58, with the prompt stage at 3:39.
5. Make a quick test render
I start with settings that let me see a result relatively quickly:
- Shape: widescreen, 16:9.
- Resolution: 480p.
- Length: five seconds.
- Fast rendering: the Lightning LoRA with the four-step option shown in the workflow.
The generated clip in the demo takes about 148 seconds. That's the result from my run, rather than a timing promise for another computer.
If the fast version is giving you quality problems, the alternative I show is to disable the Lightning LoRA and use the full 20-step approach. The quick render is useful for testing the idea; it's worth trying the longer pass when the scene is working but needs more refinement.
See the render settings at 4:07 and the first result at 4:26.
6. Upscale the clip, then look closely
After generating the video, I feed it into an upscaling workflow. Because the clip is anime, I select an anime-focused upscaler from the models I've loaded, rather than the general option initially shown.
I upscale it by four times, and that stage adds roughly another 300 seconds in the demo. The result is a larger version of the clip, but the comparison also shows why a bigger image doesn't automatically mean a clean image.
Upscaling doesn't remove all the artefacts in the original generation. If the movement or details are already wrong, I would go back and improve the generation itself, including trying more sampling steps, before treating the upscale as the finished version.
Watch the upscaling stage at 4:37 and compare the result at 5:08.
Try one short scene first
The part I'd focus on first is the character reference. Get that looking right, generate a five-second test, and check whether the character and action hold together. Once you've got a scene you like, you can spend more time on the slower render and the upscale.
I like experiments like this because you can see the whole process: the setup, the first result, and the imperfections that still need work. If you'd like to follow along, watch the full tutorial, or visit Smart Alex on YouTube for more practical AI experiments.
Keep learning with Smart Alex.
Watch on YouTube ↗